

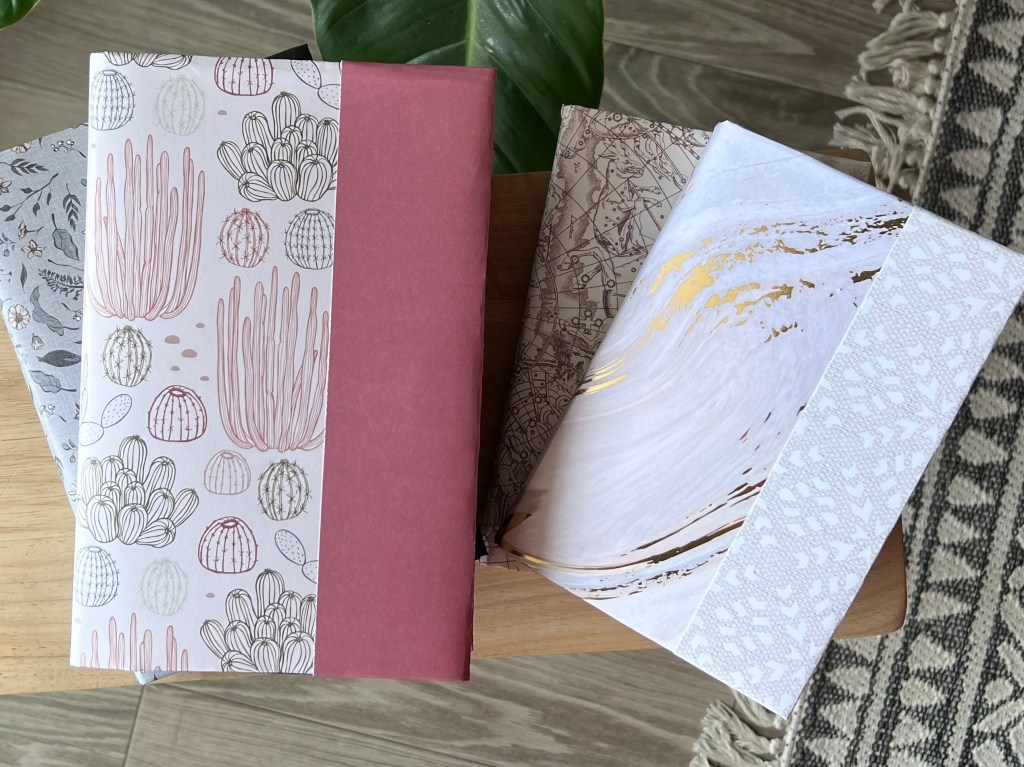
I’m always thinking of different ways that I can use all of the pretty scrapbook paper that I can’t resist buying. Recently, I was deciding how I wanted to re-style the book shelf that I have in my living room. The multicolor book spines we’re driving me bonkers. I was about to resort to turning them all backwards to show the pages. But that seemed so dull. Then an idea struck me. Remember back in the day when we had actual schoolbooks? We would gather paper bags to fold and fit our books so I thought, why not use beautiful scrapbook paper to cover the few books on my shelf?
Here is how:
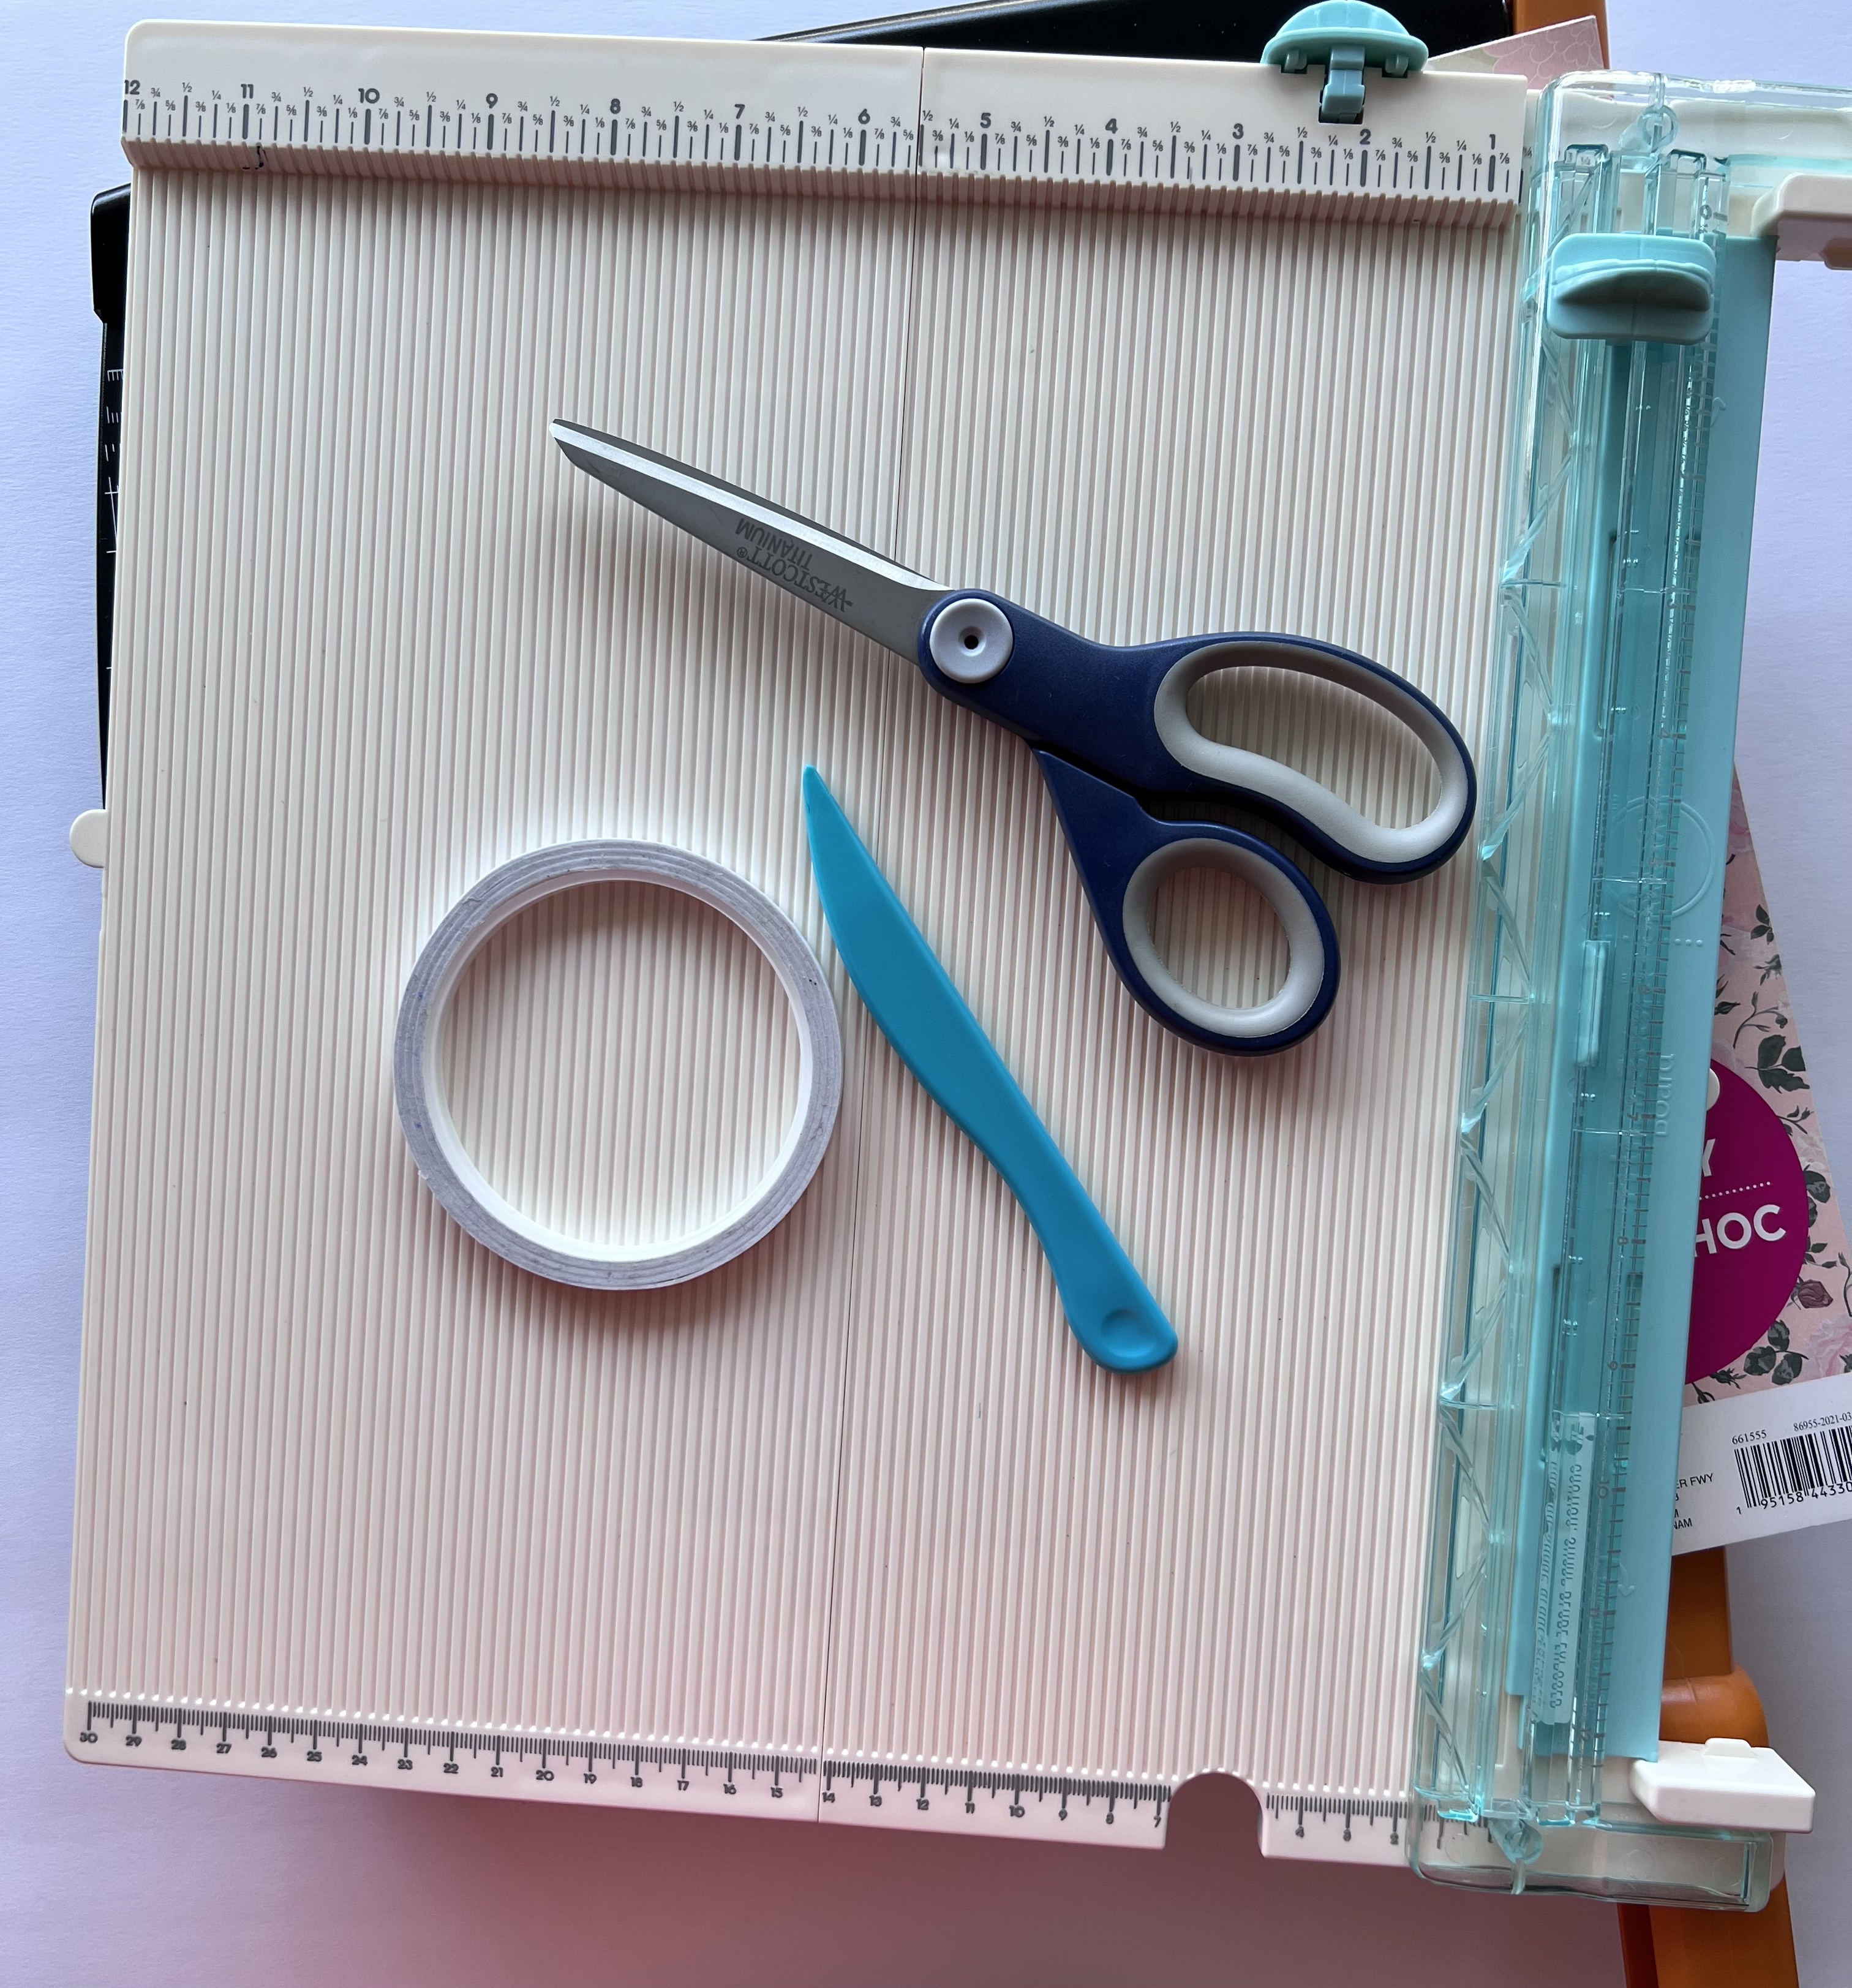
Supplies needed:
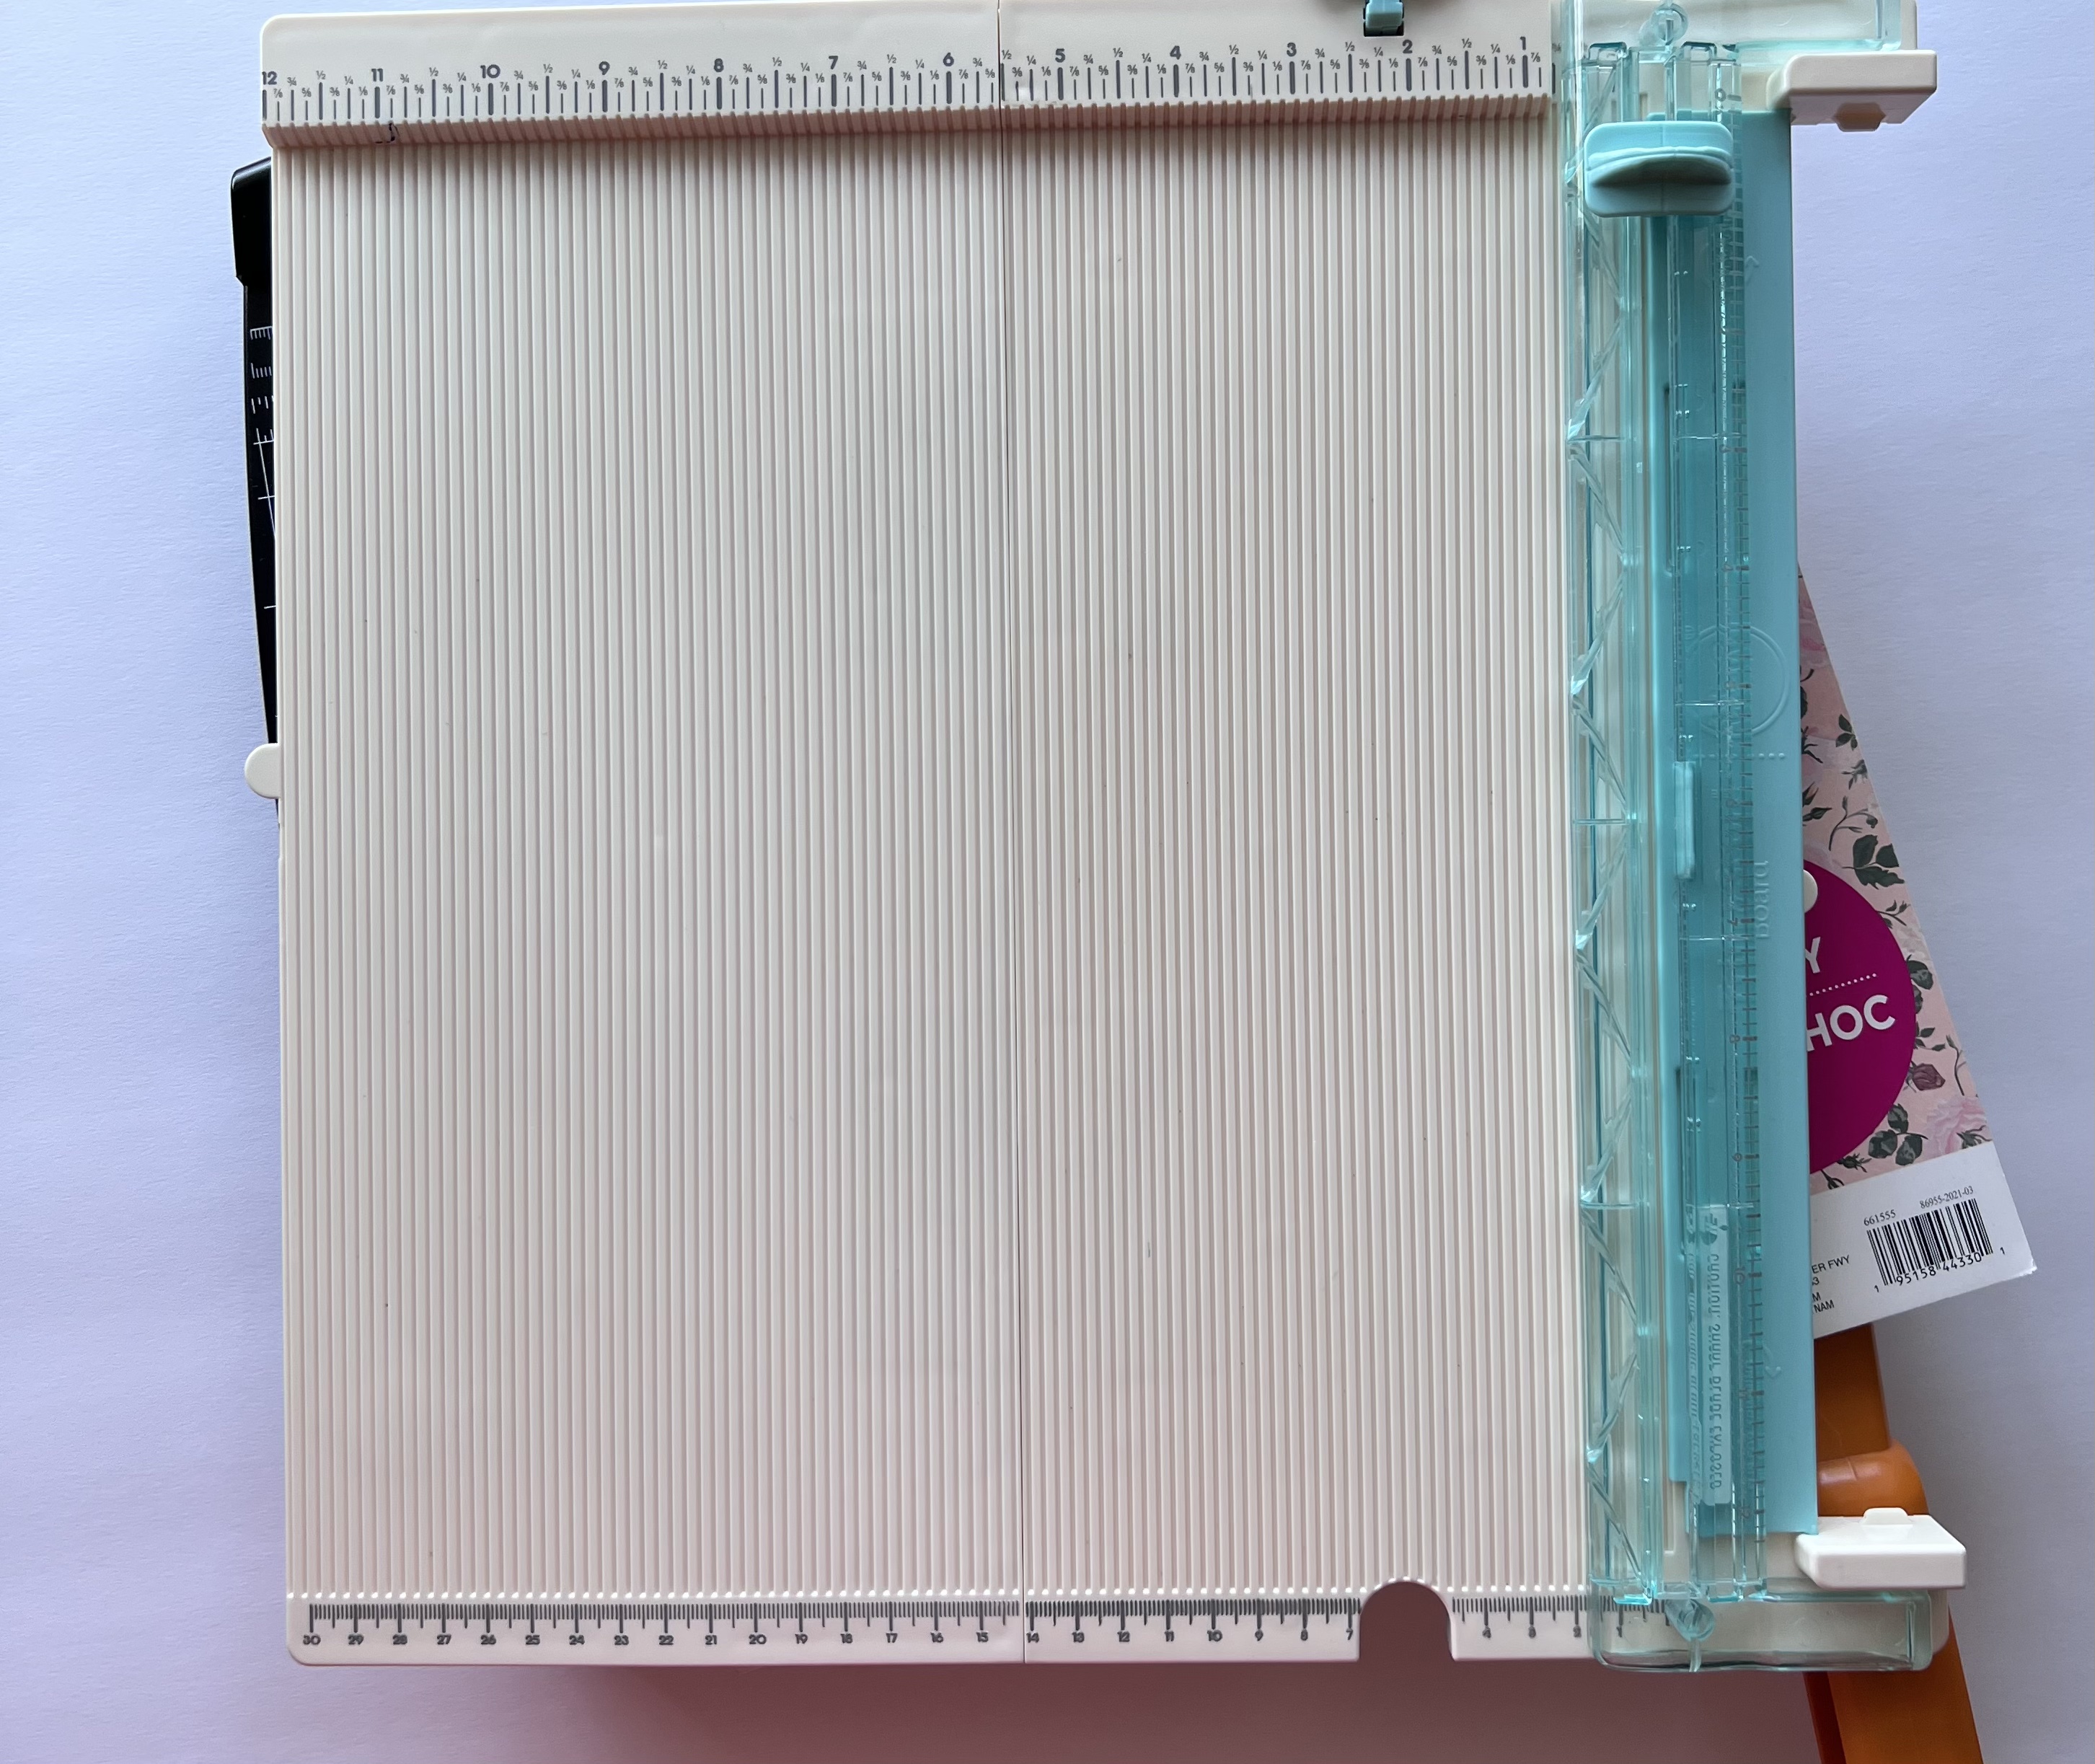
Paper trimmer
Scrapbook paper
Scoreboard and score tool (optional)
Scissors
Double sided tape
A book to cover


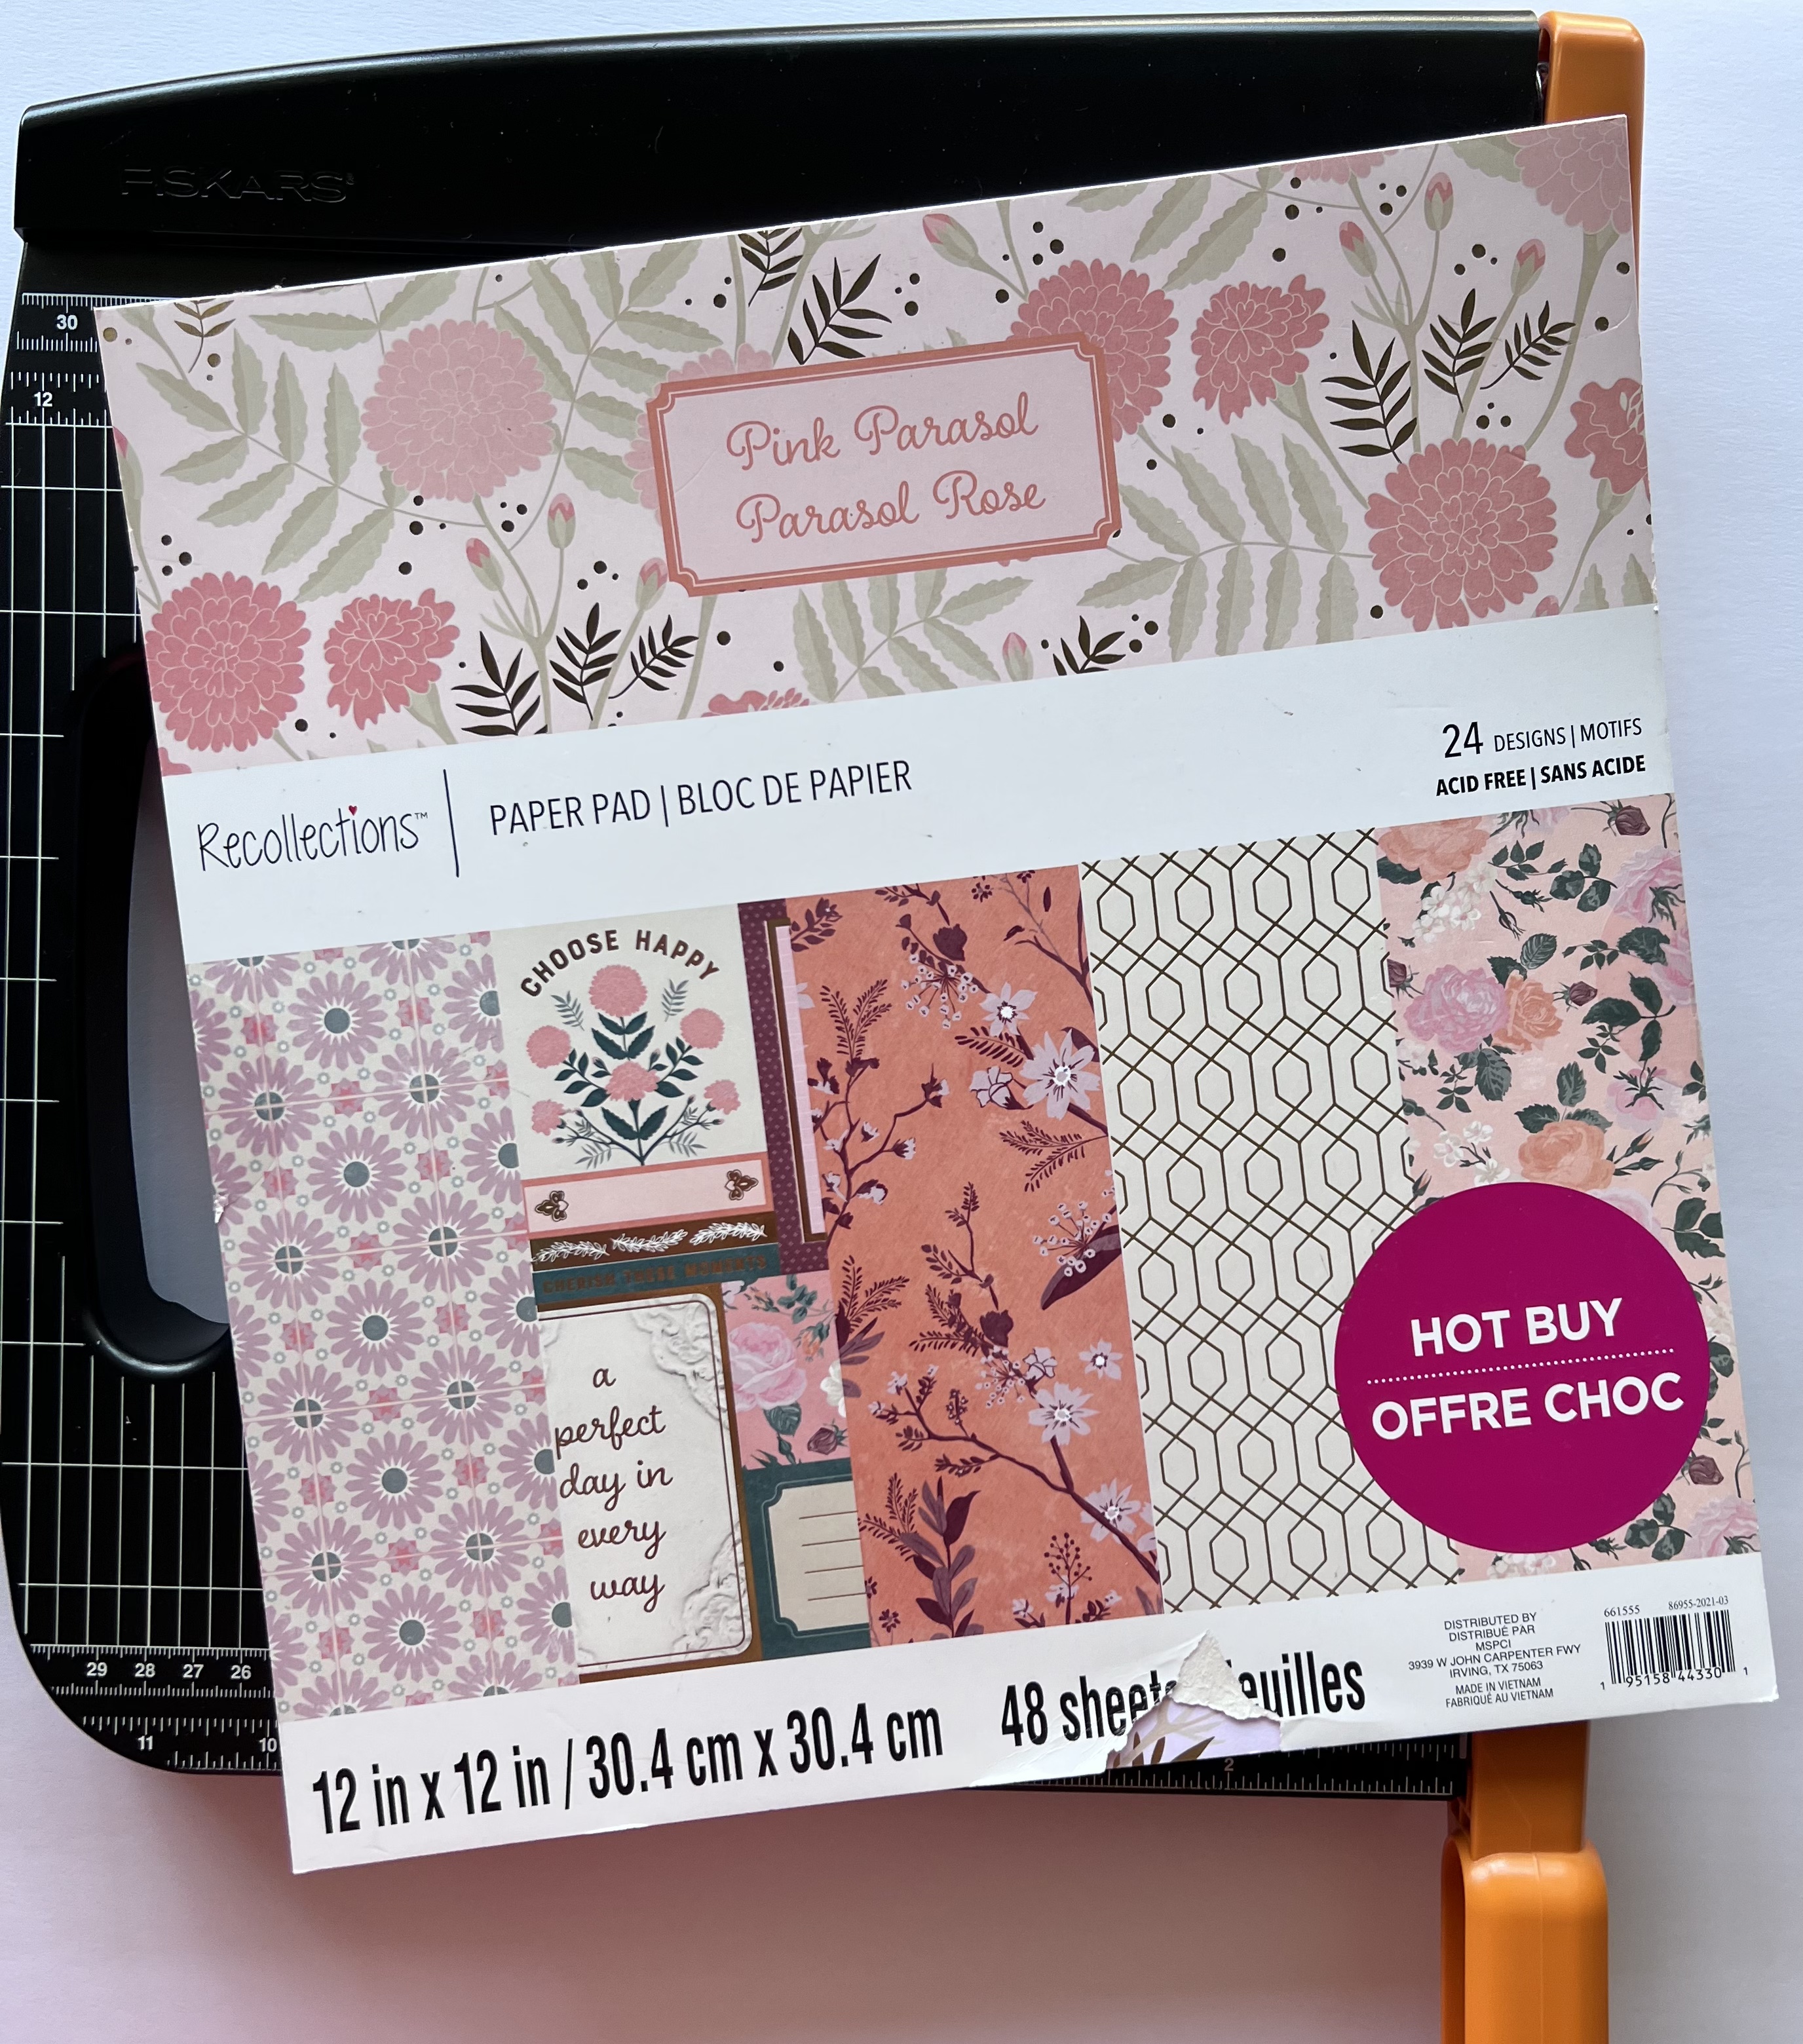
Choose one sheet of paper if the book is small enough. If the 12×12 paper cannot fit around the book and form flaps, then 2 sheets are needed. Think of your rooms decor to help you choose your patterns. The sheet that will form the flaps can be a plain pattern since it will not be seen. Feel free to choose whatever pattern/color that you would like.
If your book is a larger one. Cut the paper for the flaps in half so that it is 12×6 inches. Fold both pieces in half along the long side. Do not score these pieces or crease them sharply. It’s is better to have slight creases to fit around the hard or soft book cover. if the book is average or smaller, then cut two pieces from the full sheet to 12×4 inches or 12×5.5 inches.
For the paper that will go around the spine, consider the pattern and decide the placement and how it will ultimately look on the shelf.
You don’t have to be super exact here, but just pre-fit the paper around the book to see how it looks.
Place a strip of double-sided tape along what will be the vertical side of the cover (both sides). Also place a strip of double sided tape along the inside of one side of each flap piece.
Fit the main cover piece around the book. Then place the flap pieces around each cover. Make them as even as you can, lining the bottom and top edges as best you can.
Remove the tape release paper on both pieces to attach the main cover piece and the flap. Do this on both sides.
While the book is still in place, hand crease the top and bottom edges of paper along the book. Remove the book and lay the entire piece with the inside facing up.
Fold the top and bottom edges inward.
Your book cover is done! You have the option of inserting the cover into the flap, or just folding the flap around the cover.
Please let me know if you have any questions. Checkout my YouTube video below to see these instructions in action.
Have fun with this!
Tammie


